5 TIPS TO IMPROVE YOUR PINHOLE PHOTOGRAPHY

In this age of instant digital photography, what could be more satisfying than building and using your own 35mm pinhole camera? If you've bought a kit, such as the Sharan STD-35-e pinhole camera, then you can at least rest assured that the camera is built for purpose. However, there's nothing more deflating than seeing your prints or negatives for the first time and finding blurred or under-exposed images.
In an effort to reduce some of the inevitable pitfalls of pinhole photography (or just an obvious excuse to build and play with a camera kit ourselves!) we have put one through its paces in. Here are some useful tips that should help you create some successful shots.
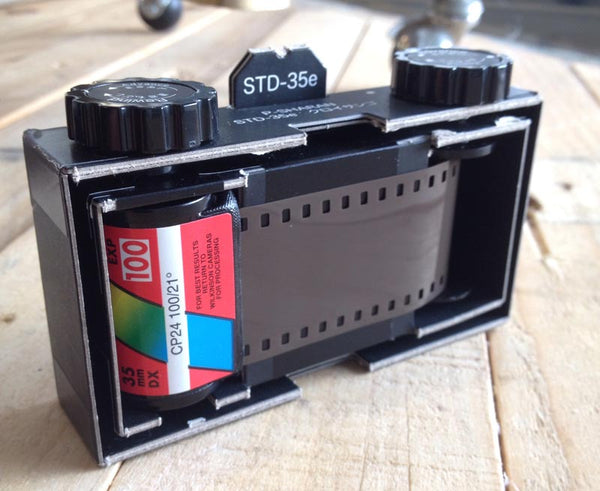
1. Loading the film.
It is easy to think of this as a mere formality, but screw it up and you could have wasted a lot of time and effort, not to mention all those incredible photographs. The key is making sure the film winds on nice and tight. We found it tricky getting the end of the film to stay on the spool, but a tiny piece of sticky tape was the answer.
2. Keep it secure.
With no real locking mechanism on the case or shutter, the pinhole camera can have the tendency to either take its own pictures, or completely expose the film. To ensure this doesn't happen there is one item that every pinhole photographer should carry... rubber bands. Use them to keep the back from sliding off. Put one around the card shutter to stop it from opening when it shouldn't. In fact you can use long elastic bands to help take steady shots by securing it to a lamp post or street light.
3. Keep it steady.
Because of its fixed aperture size and use of low ISO films, pinhole cameras inherently need long exposure times so stopping any unnecessary movement, such as lifting the shutter, is critical to good photography. Luckily the Sharan pinhole camera kit comes with a tripod mount, so this wasn't an issue for us. If tripods are too big, use a monopod and lean it against a tree or wall. Or better still, take some shots while resting it on the ground and marvel at the pinholes incredible depth of field.

4. Keep a record.
It is well worth making some notes on the first few film rolls you use. Write down the film ISO and the exposure time of each shot, so that you can get used to the best setting for the different light levels. It will also give you a good idea of how many shots you have left. Remember, you may have used a 24 exposure film but you will probably only get half that in a pinhole camera, due to the frame size and the turns necessary to wind each frame on.
5. Ignore the rules.
The great thing about pinhole photography is that you are not aiming for a perfect image, so mistakes and accidents are all part of the process. You could be trying to take a night shot of a city skyline, and then accidentally lift the camera at the end of the long exposure. We guarantee that you will forget to the wind the film creating, possibly, an interesting double exposure. Learn to embrace this! Once you are confident in using your camera, the more creative you can become.
Keep your eyes peeled for our next post, when we share some of the photos taken with our pinhole camera. Happy shooting!
